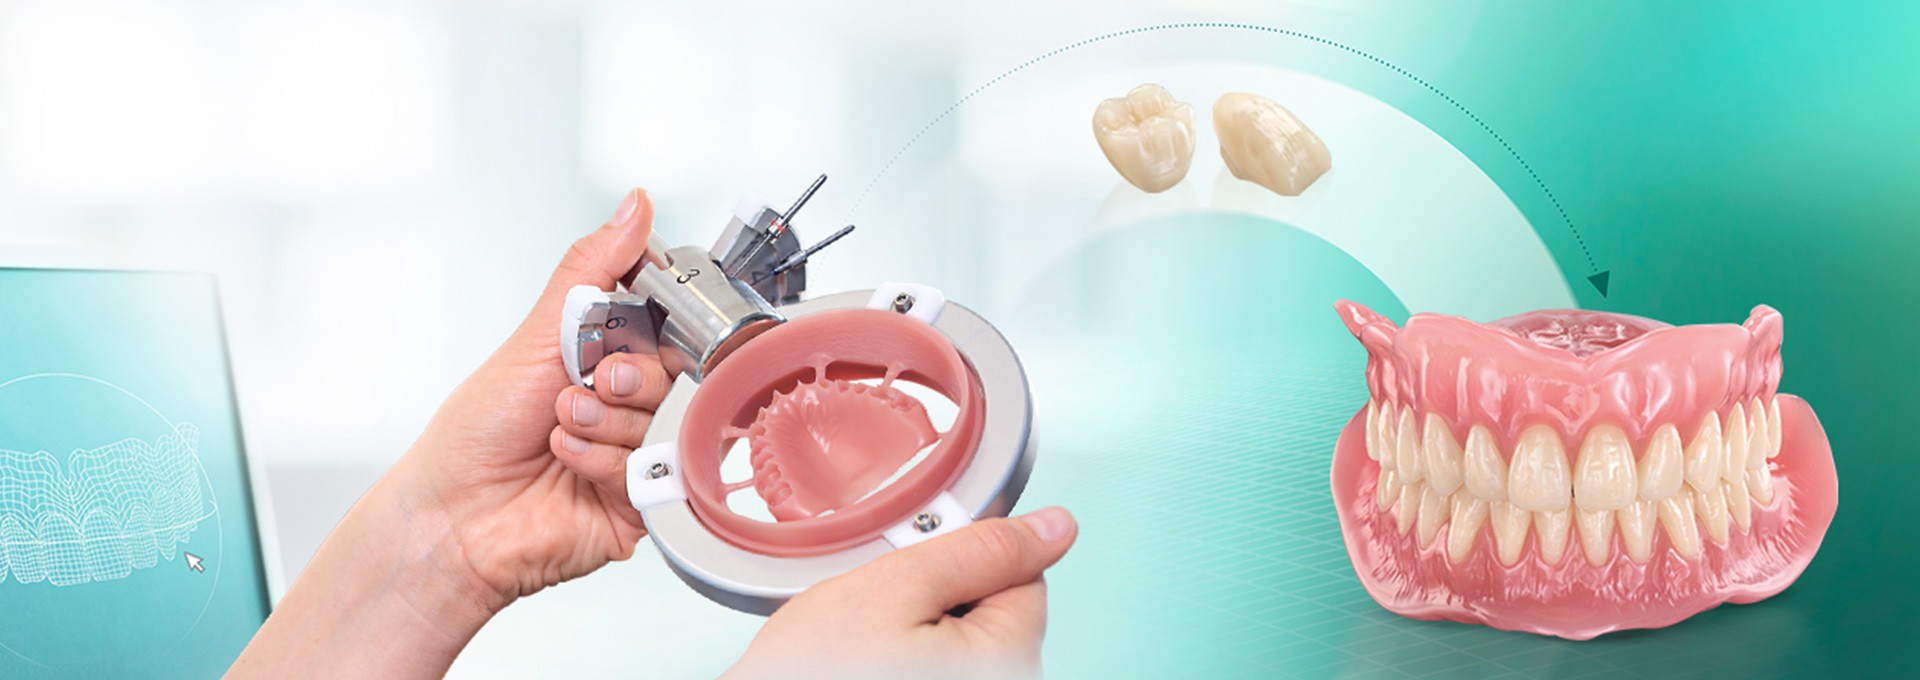
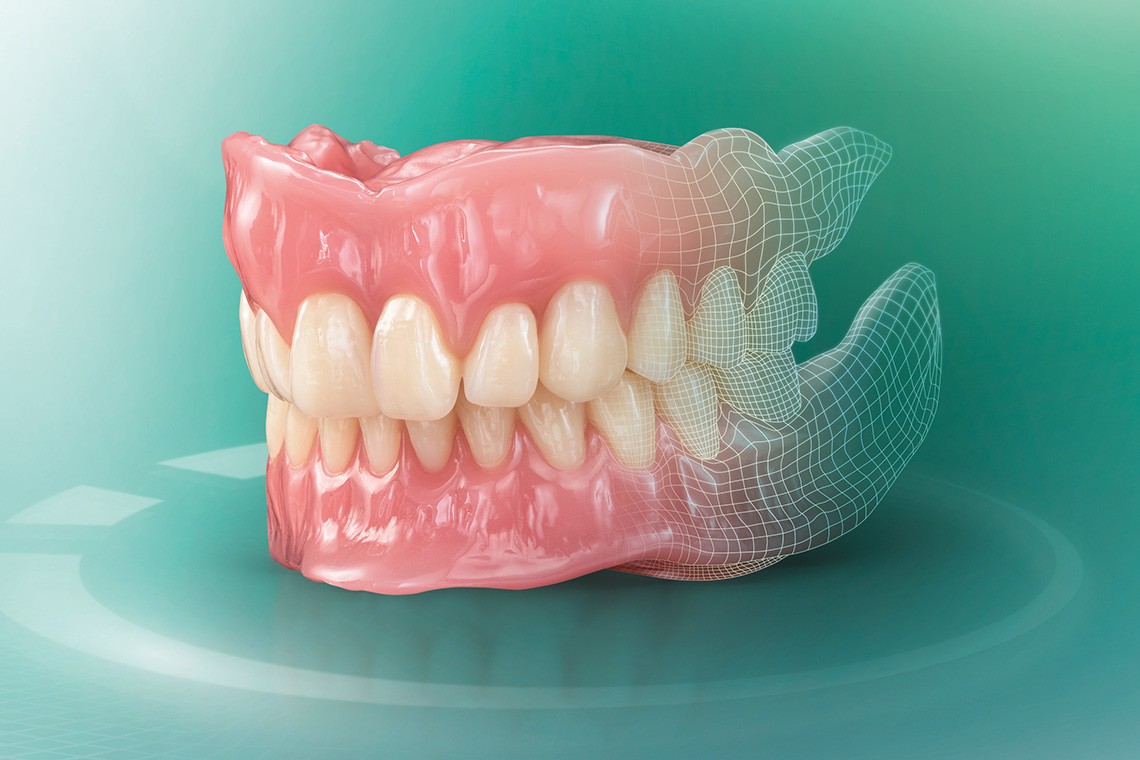
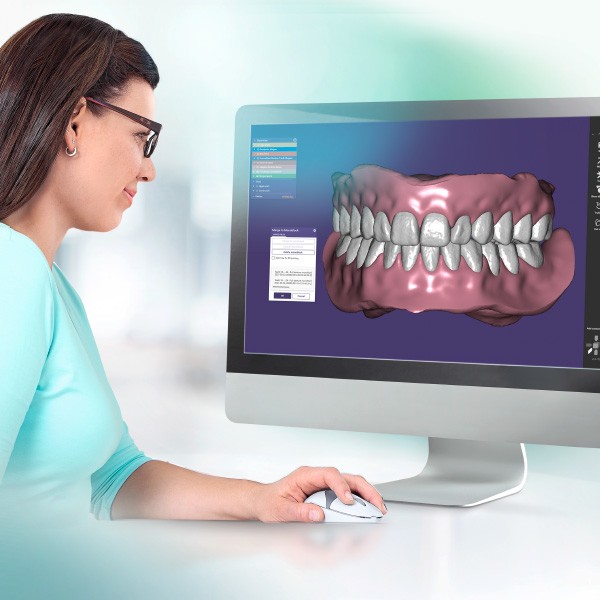
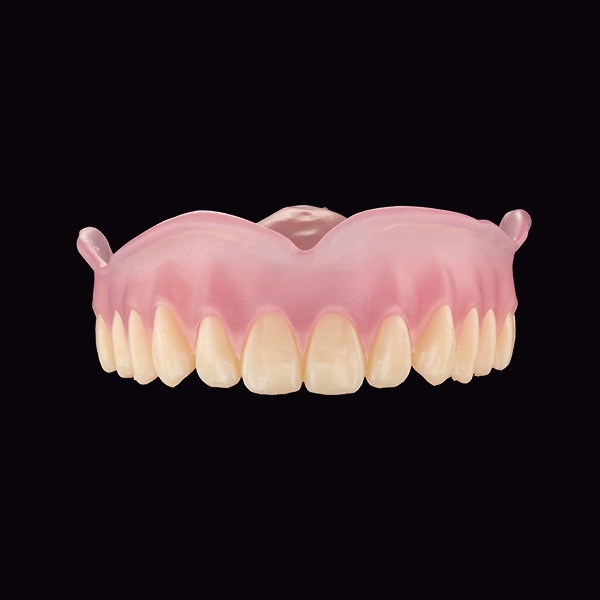
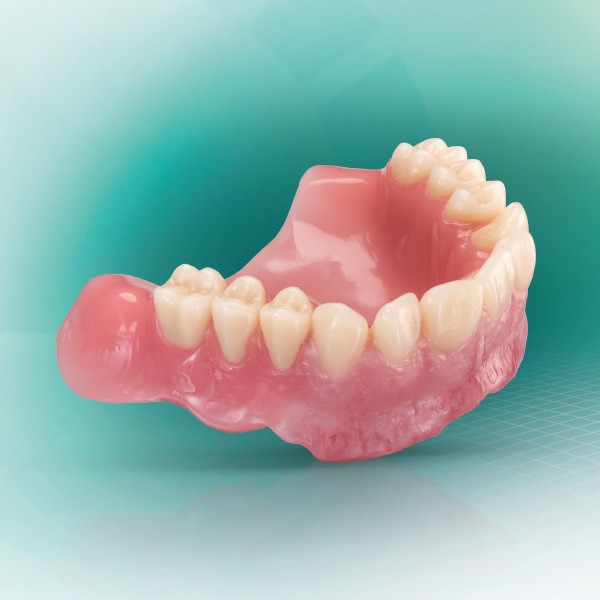
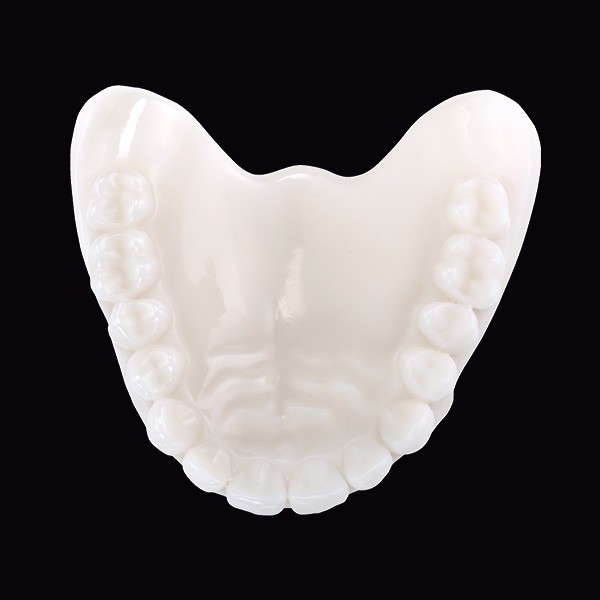
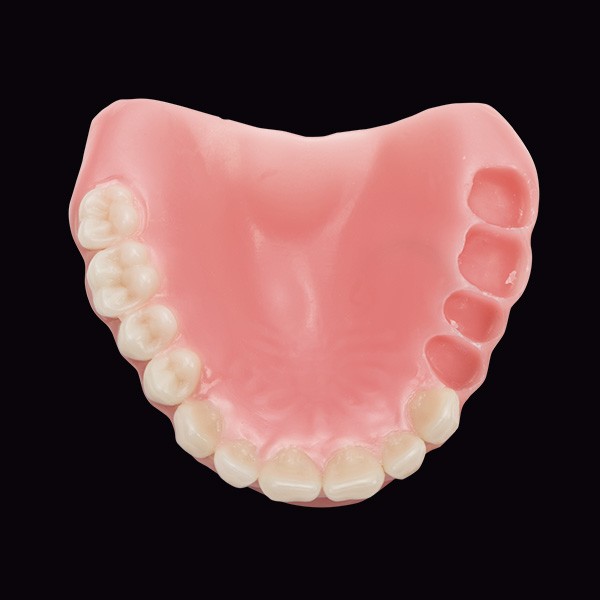
A digitally fabricated denture base and a full denture made of VITA VIONIC material

Fabricating digital dentures – this will help you start successfully!

Would you like to produce digital dentures in your dental laboratory? Learn what you need and how you can achieve good results in just a few steps. 

Your entry into digital full dentures can be done conveniently and does not have to be complicated at all. With many digital procedures, you can continue to manufacture full dentures using the familiar, proven process. Often, with your CAD software and the CAM laboratory equipment (milling unit or 3D printer), you already have the necessary laboratory equipment to start immediately, without having to convert devices. Nevertheless, you may be unsure which procedure is suitable for your laboratory and how you can reliably achieve good esthetic results digitally. Don’t worry! In this report you will learn all about the advantages and disadvantages of the different procedures and how you can produce highly esthetic digital dentures in just a few steps. 

Digitally fabricated denture made of VITA VIONIC material
Digital denture made using the VITA VIONIC material system

Digital dentures: Choose the digital process that is best for you

When choosing a digital manufacturing process that is suitable for you, you should pay attention to whether it changes the clinical process in your practice. While some procedures require a new type of impression and registration technique, other systems support the customary practice processes. Functional impressions and individual bite registration cannot currently be fully implemented digitally. The esthetic possibilities and limits of the different procedures must also be assessed. Digital technologies only create real added value if you can use them to produce full restorations that are at least as good as what you can produce with your own hands. 

You know what kind of full dentures you can create with your own craftsmanship. Therefore, only select those technologies that can produce something at least as good as what you can produce yourself. 

Digital denture made using the one-part process

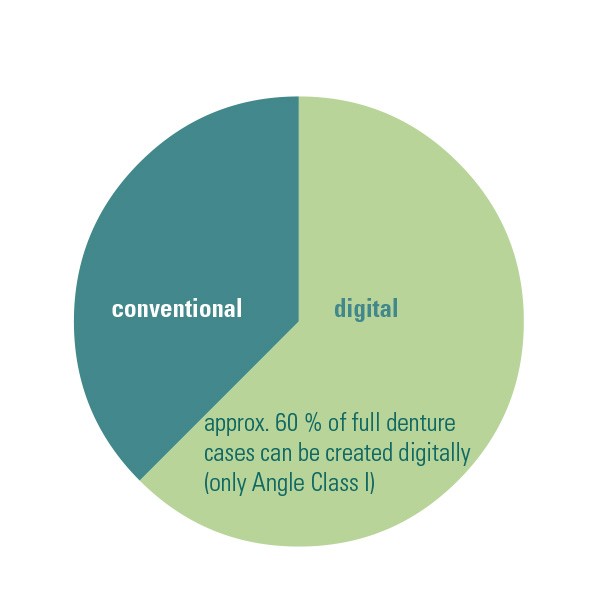
The denture is fabricated from one piece. One manufacturing process is based on an idealized setup. To reduce effort, prefabricated milling discs with embedded prefabricated teeth are used. The dentist has to adapt his or her clinical steps; determining the jaw relation and taking an impression follow a new path. The concept currently supports three sizes of dental arches, three tooth shapes and a limited number of tooth shades. Only patients with Angle Class I can be restored. No individual anterior tooth esthetic is provided. Another manufacturing process uses two-tone discs. Monolithic full dentures can be milled with a two-tone PMMA disc. The undulating interface between the gingiva and tooth-shaded material is used to reproduce the necks of the teeth and papillae. Standard dentures with a eugnathic tooth setup can be fabricated. 

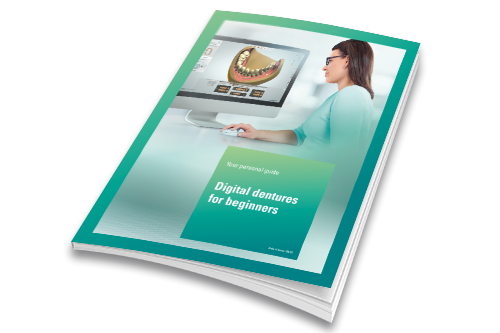
The guide "Digital dentures for beginners"

PDF guideline "Digital Dentures for Beginners"

The ultimate five-step guide to getting started with digital dentures 

Digital dentures using the two-part process

Denture base and dental arch are fabricated separately. The advantages of the procedure are the rapid production and the fact that your practitioners can continue to work according to the tried and tested clinical procedure. Criticisms of the two-part process are tooth shapes without a three-dimensional layer structure, the frequently single-shade PMMA acrylics for the dental arch and the resulting esthetic restrictions. In addition, the dental arch materials are mainly made from unfilled PMMA acrylics, which are generally less resistant to wear than filled materials. In addition, gluing in the dental arch using cold polymerizate or photosensitive resins requires manual effort, which is sometimes complex, takes place in several steps, harbors sources of error and requires rework. The uniform direction of insertion of the dental arch into the denture base often leads to an unsatisfactory esthetic result with short papillae. 

Digital dentures using the multi-part process

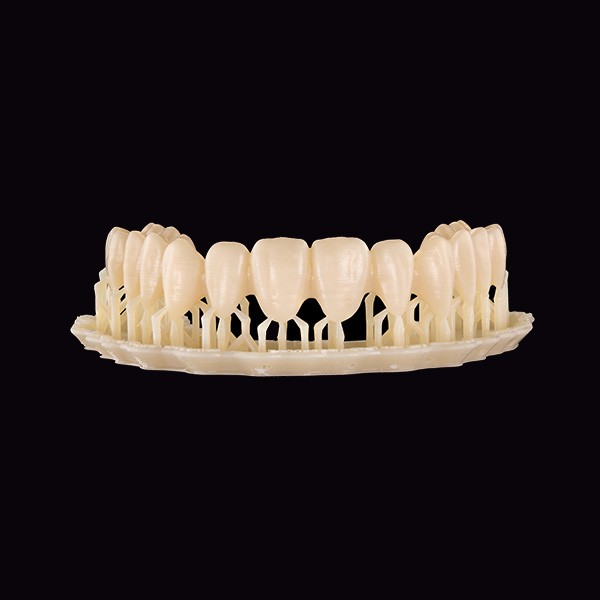
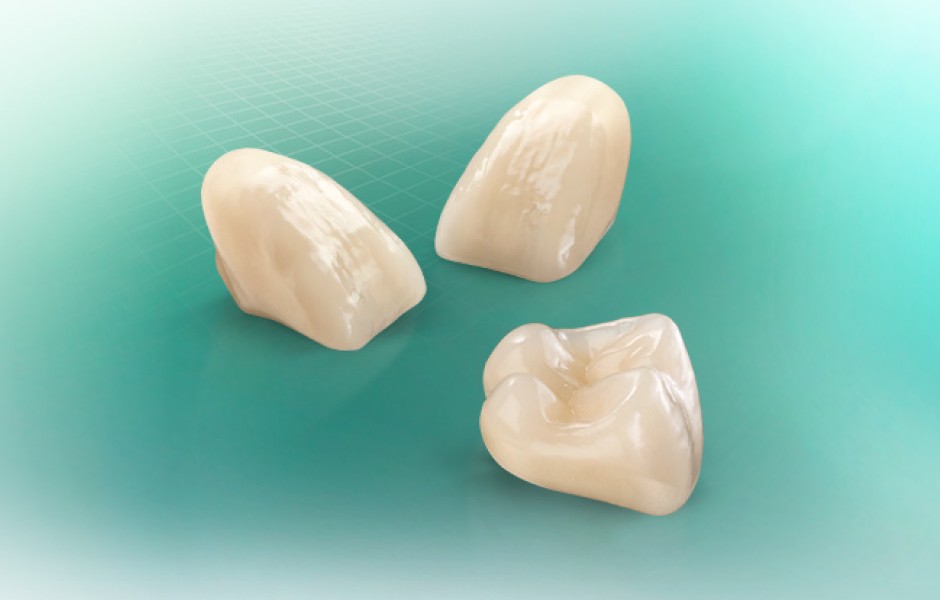
The denture base is digitally fabricated, and prefabricated teeth are glued into the printed or milled cavities. The most recent generations of teeth for the multi-part process of digital full dentures are offered by VITA Zahnfabrik (VITA VIONIC VIGO, 2020) and Dentsply Sirona (IPN 3D, 2019). With this new "digital" generation of teeth, esthetics that are comparable to conventional dentures are possible. VITA uses high-quality PMMA materials filled with silicon oxide; good wear resistance can be expected from these. The VITA VIONIC tooth also offers the advantage that the neck of the tooth is already preconditioned for bonding (sandblasted). Another advantage of the multi-part process is that nothing changes in the tried and tested clinical procedure for your dentists.

What hardware and software do you really need for digital dentures?

Which digital concept combines your quality requirements with profitability? A concept that does it all would be best. So what exactly do you need to get started? In reality, not much at all. Because, depending on the process and laboratory equipment, you can simply work with your existing laboratory equipment (CAD software, plus milling unit or 3D printer). For CAM production with VITA VIONIC, for example, you can use all common 3 + 2-axis, 5-axis and 5-axis simultaneous milling units. Milling machines with wet processing are advantageous in the milling process. 

CAD design based on nature – this is how it can work!

What kind of CAD software do you need for digital dentures? You need dental CAD software that supports the design of removable dentures with a denture module. 

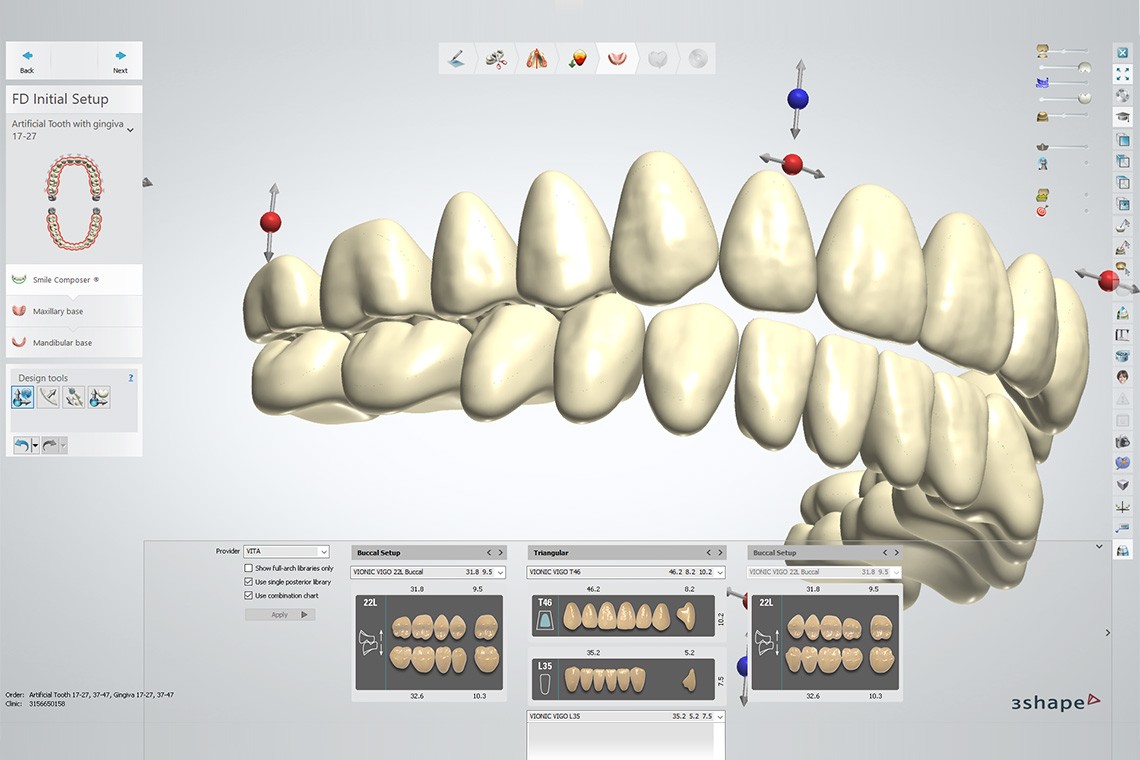
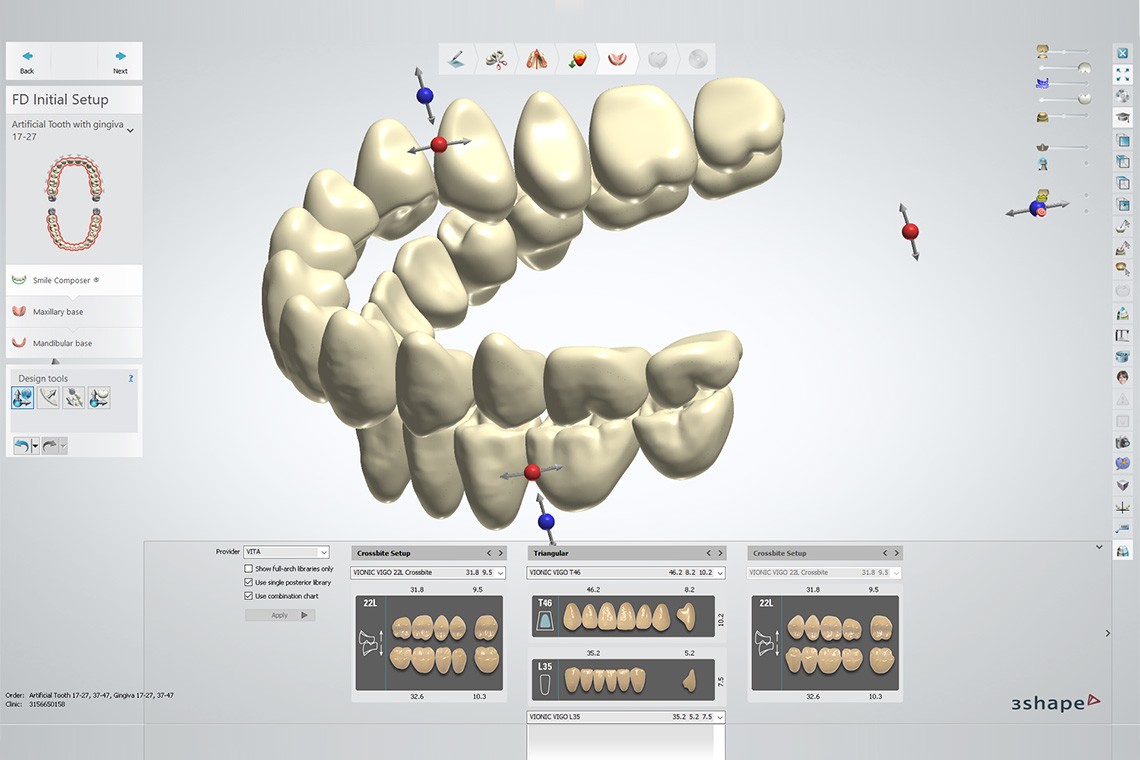
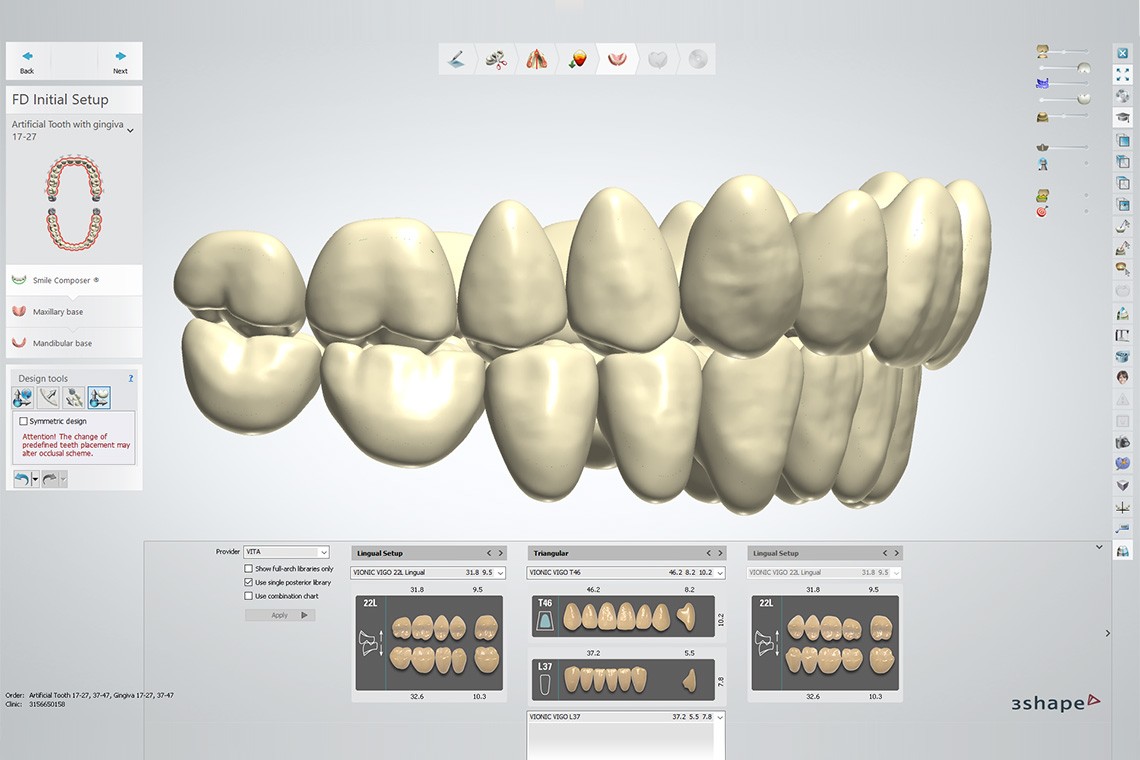
To be able to cover a wide variety of indications, various setup concepts and setups should be stored in the software's tooth library. 

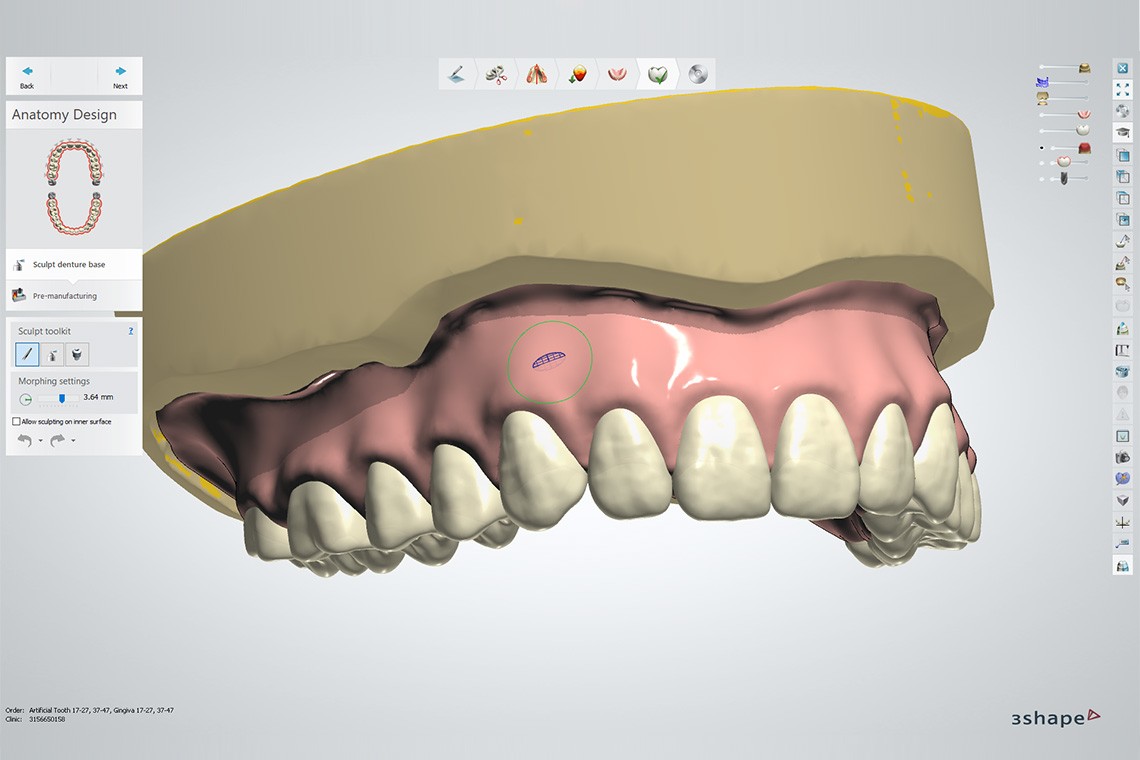
Four screenshots of the 3Shape software with some of the many setups from the VITA library
Examples of the many set-ups available in the VITA library of 3Shape software
Four screenshots of the 3Shape software with some of the many setups from the VITA library
Examples of the many set-ups available in the VITA library of 3Shape software
Four screenshots of the 3Shape software with some of the many setups from the VITA library
Examples of the many set-ups available in the VITA library of 3Shape software
Four screenshots of the 3Shape software with some of the many setups from the VITA library
Examples of the many set-ups available in the VITA library of 3Shape software

Note 

The databases (tooth libraries) in the CAD software are configured by the tooth manufacturers. The quality of the setup relies on the competence of the tooth manufacturer. Ideally, the dental technician can access an "intelligent" library and various setup concepts. There are huge differences here. VITA Zahnfabrik, in its VITA VIONIC system, incorporates more than 600 setups for all angle classes. The libraries of other manufacturers sometimes contain significantly fewer setups. 

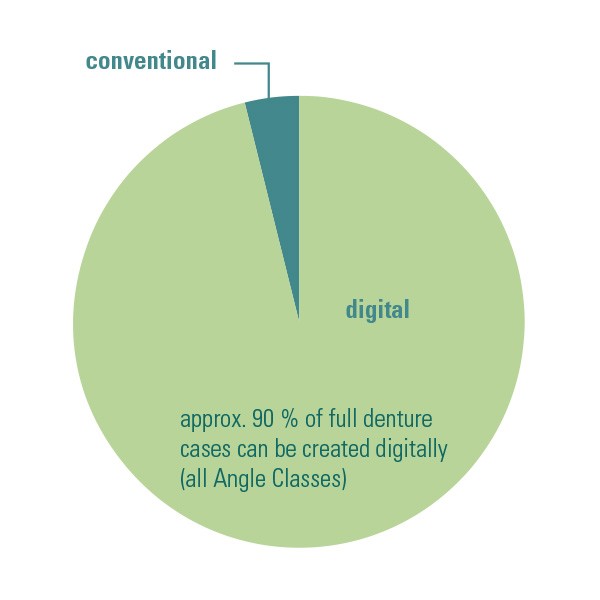
Comparison of the range of indications of tooth libraries for full dentures

Fabricating and finishing digital dentures – here is how it works

Does it all sound complicated? Don’t worry, you only need four steps for digital dentures: 

1. Setup: scan & CAD design; 2. Try-in; 3. Fabrication: CAM milling or 3D printing; 4. Finishing 

1. Step: Setup (scan & CAD design)

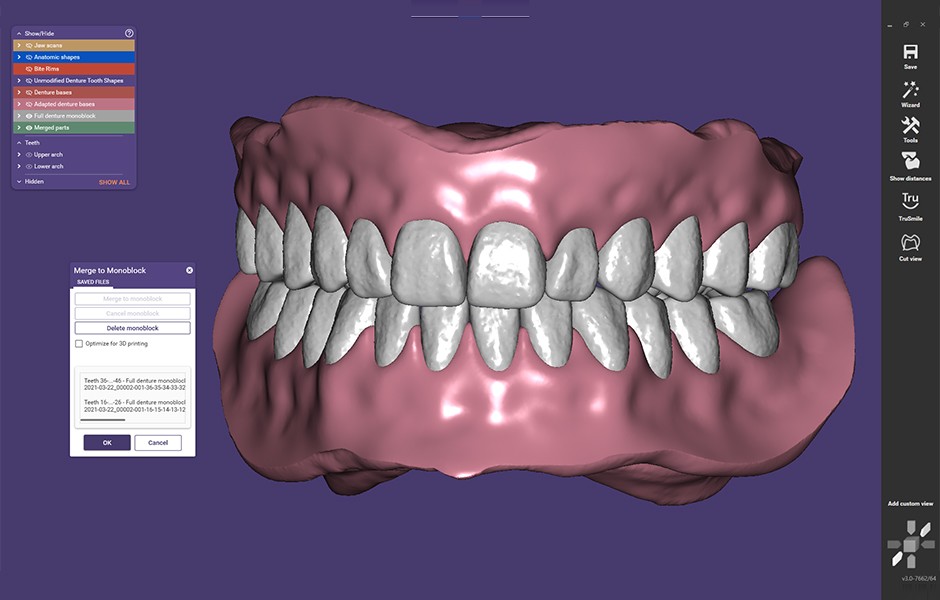
In order to switch to the digital process, the models are digitized with the laboratory scanner. The digital model analysis is the basis for setting up the teeth in the CAD software. Then the desired tooth set or tooth shape is selected from the tooth library. The software generates the setup based on the tooth selection and the selected setup concept. 

2. Step: Try-in

If the denture is digitally set up, the try-in follows. With some digital processes, this step is not necessary. But as you know, most dentists want a try-in, and for good reason. The try-in is used to optimize the denture through possible modifications of the setup. You do not have to omit this with digital full dentures either. To make a try-in, you need a 3D printer or a milling unit. 

Example of a try-in: 

3. Step: Adjustments (optional)

If a change is necessary after the try-in (e.g., to optimize the esthetics), this can be implemented with more or less effort, depending on the process and material system. It is inconvenient if the try-in is carried out with the milled or printed PMMA dental arch made for the final denture, and modifications are then necessary. In this case, the dental arch has to be milled again or reprinted. A try-in with a monoblock denture made of wax or with a milled wax base and fixed, prefabricated teeth is much more convenient. Any adjustment is scanned in again. The occlusal contact relationship is automatically reconfigured. 

4. Step: Fabricating the final denture

To fabricate the final denture, you need a 3D printer or a milling unit and, depending on the procedure, prefabricated teeth. If you decide on a material system that is compatible with many different printers and milling units, you can normally use existing laboratory equipment. The VITA VIONIC Material System (VITA Zahnfabrik), for instance, has been validated for all well-established milling units and many 3D printers. 

5. Step: Finishing of the dentures

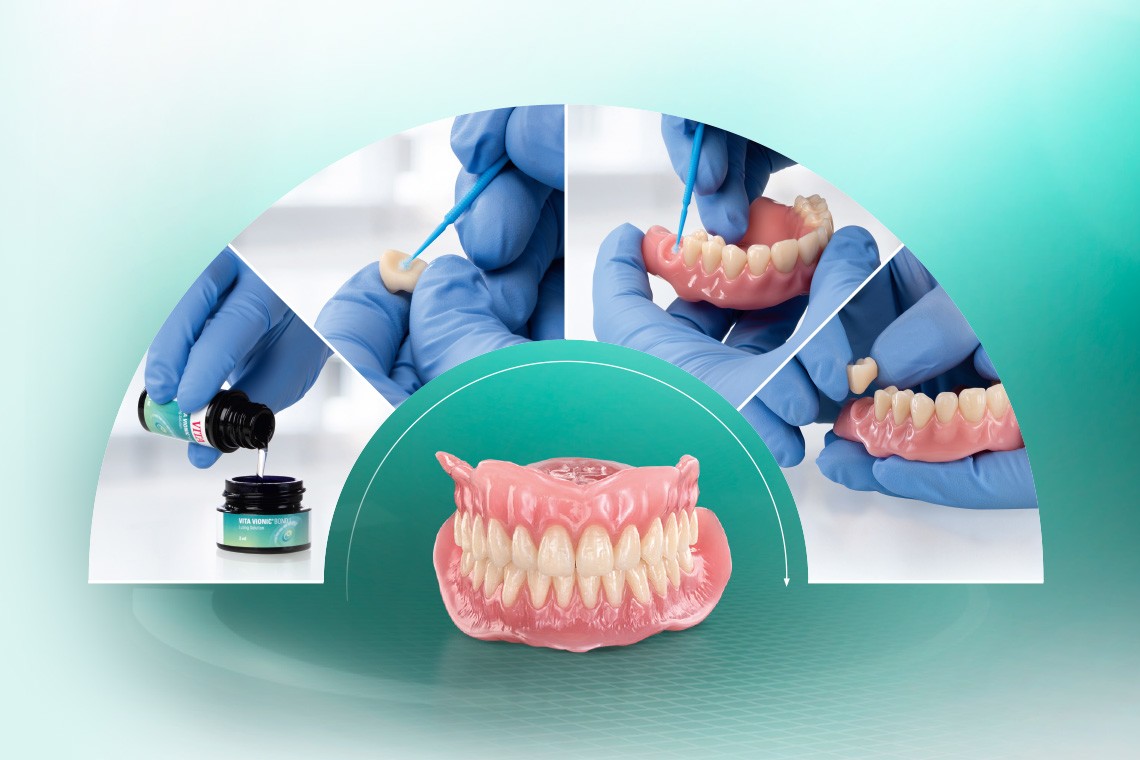
The finishing is different depending on which digital manufacturing process you choose. In the multi-part process (e.g., VITA VIONIC), teeth that are specially prefabricated for the digital denture are glued into the milled or printed cavities of the denture base. With the VITA VIONIC VIGO tooth, the basal surface of the teeth is optimized so that you can bond the teeth without any preparatory work or reworking. As in a modular system, the teeth fit securely and rotation-free in the base and are permanently attached with the VITA VIONIC BOND adhesive. The interdental spaces are simply sealed with a flow composite. Polishing is completely effortless as the prefabricated teeth already have a perfect surface. 

Process of bonding prefabricated VITA VIONIC VIGO teeth
Process of bonding the prefabricated VITA VIONIC VIGO denture teeth.
The guide "Digital dentures for beginners"

PDF guideline "Digital Dentures for Beginners"

The ultimate five-step guide to getting started with digital dentures 

Are you interested? Click here and find out more:

Experience reported by colleagues

Link to the success stories of colleagues, dental technicians in the background

What are digital dentures capable of?

Link to the report "Digital denture without aesthetic compromise", dental technician in the background

Experience reported by colleagues

Link to the success stories of colleagues, in the background Ralph van der Reijden