Metal post abutments from the restoration 12 years previously, with dark, discolored tooth substance.
 Il semblerait que vous vous trouviez en ce moment en États-Unis.
 Il semblerait que vous vous trouviez en ce moment en États-Unis.

Metal post abutments from the restoration 12 years previously, with dark, discolored tooth substance.

Metal framework with reduced vestibular margin for the ceramic shoulder.

The fired opaque layer. The ceramic shoulder was built up using fluorescent MARGIN material. Shade 2R2.5, MARGIN material M3.

Luminary material: these materials offer similar fluorescence to MARGIN material. The layering in the margin area is approx 2 mm thick. In the tooth neck area, a mixture of LM2 LUMINARY material (sand shades) and LM3 (yellow) is used, the central area is filled using LM3, and the edges coated with LM1 (white).

Luminary effect after firing.

Translucent layer before application of the ENAMEL material. The irregular surface gives the incisal area a natural appearance.

VMK Master® ceramic after initial firing. Inlays of VITA INTERNO material support the shade effect.

Corrective firing: The neck area is masked using CERVICAL material, the central area with TRANSLUCENT (white) material, and finally, the incisal edge with a mixture of ENAMEL, TRANSLUCENT and DENTINE materials.

Crowns after firing for the second time: marginal ridges and the surface structure are made visible with a pencil and silver powder.

The crowns directly following cementation.

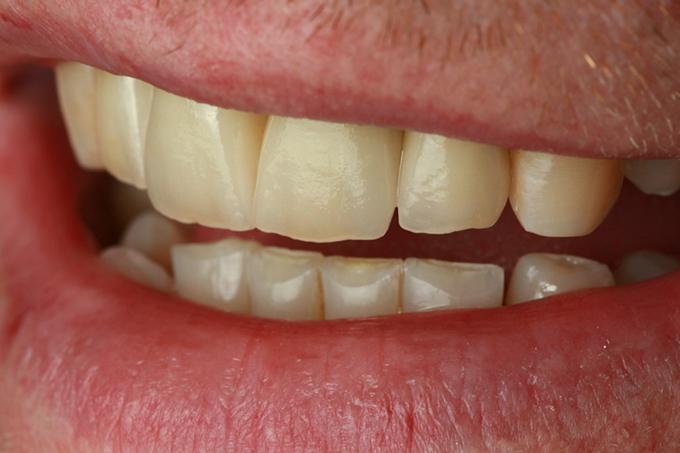
Shape and functionality: the progression of the upper incisal edges matches those of the lower jaw.

Natural surface shine: Restorations veneered using VMK Master® meet the expectations of the practitioner and the patient.